1.Introduction

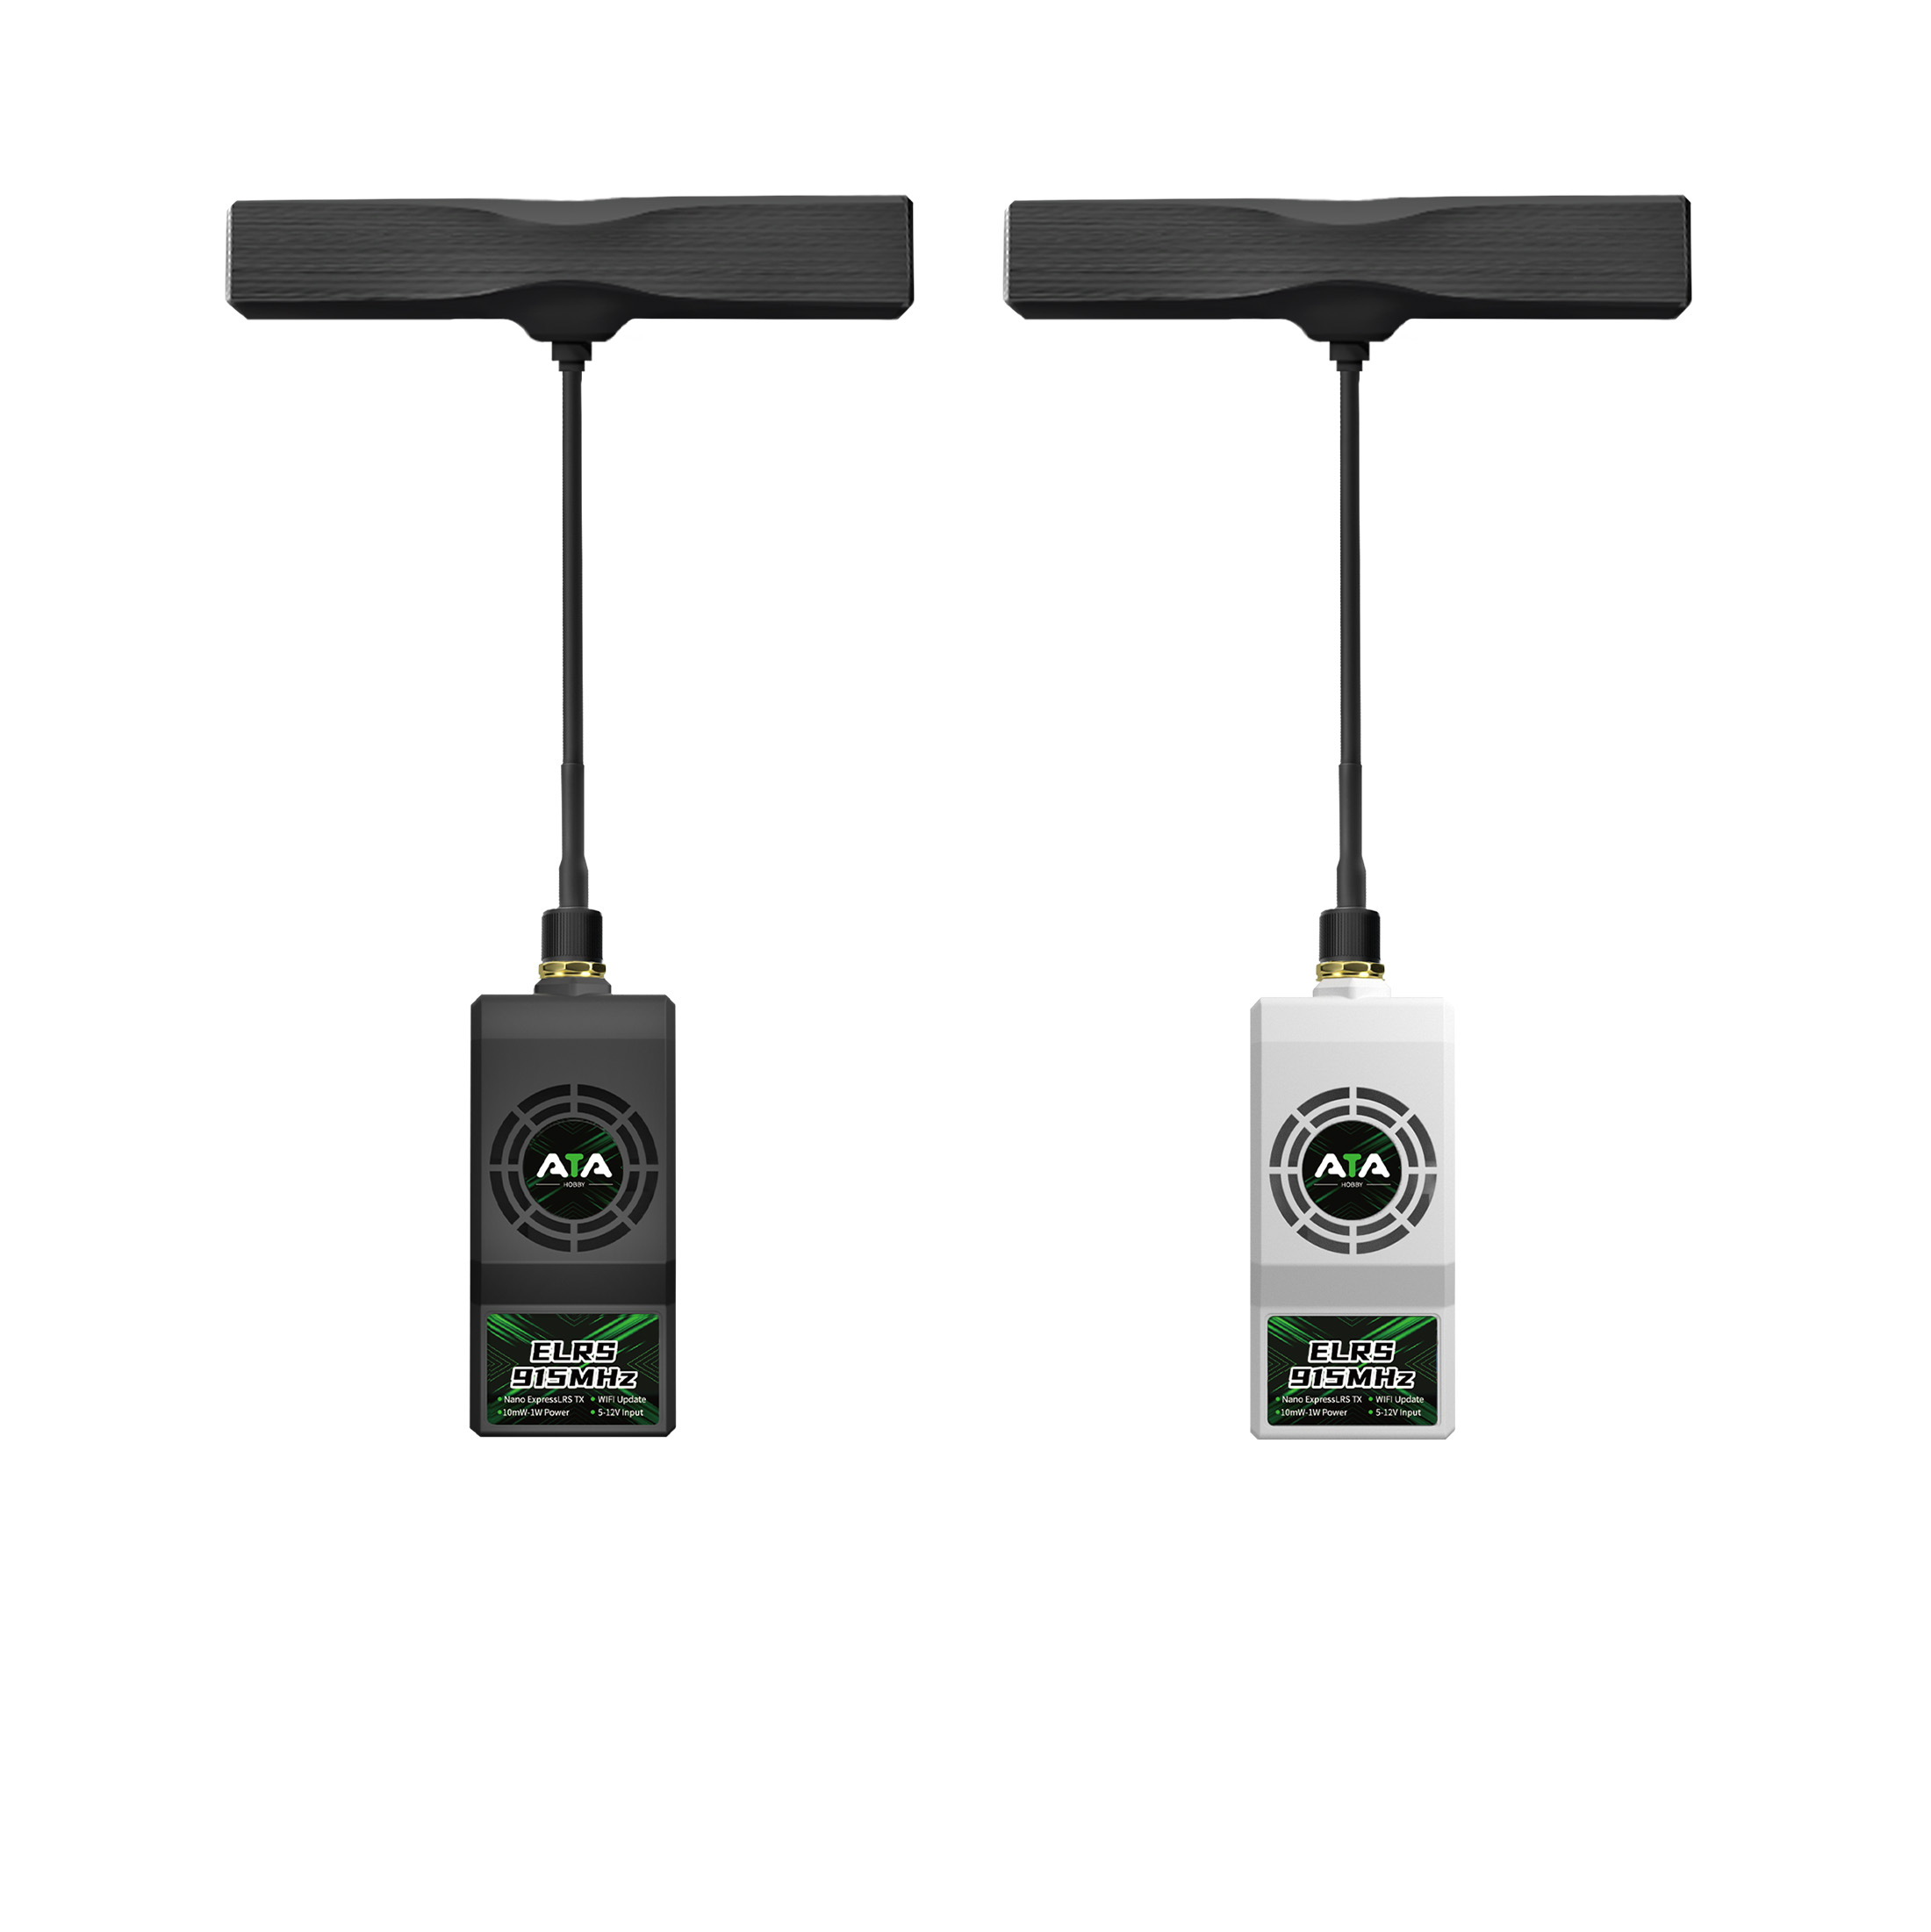
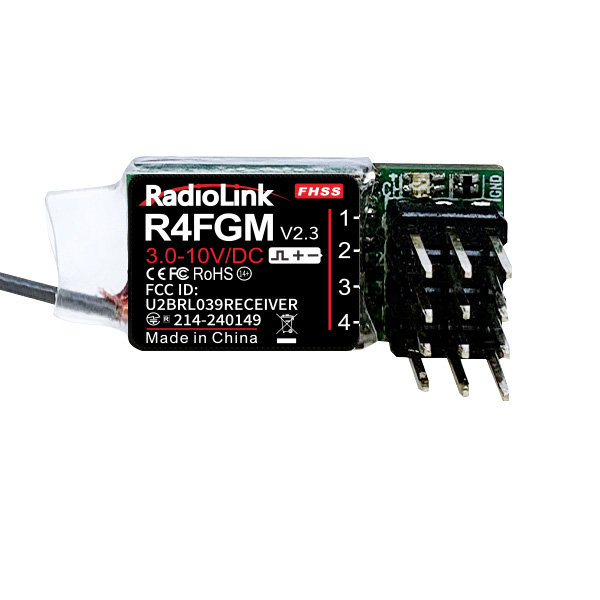
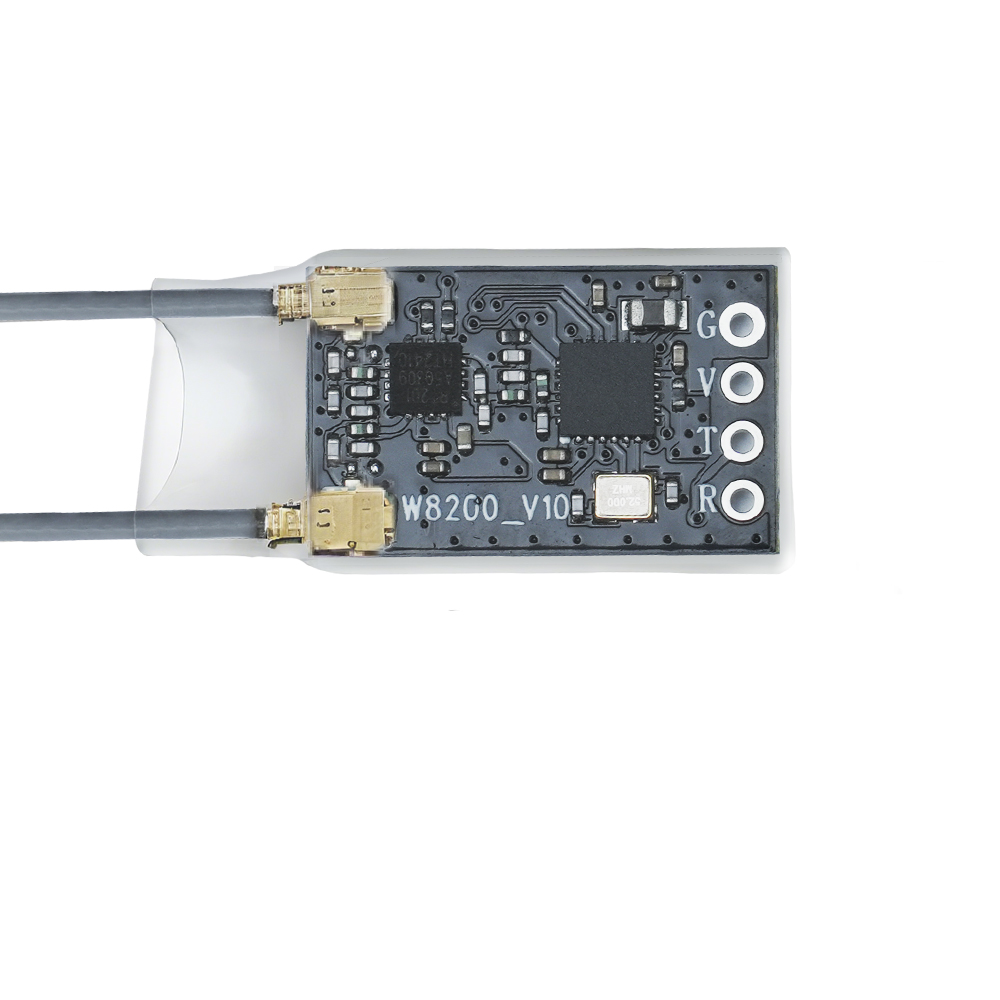
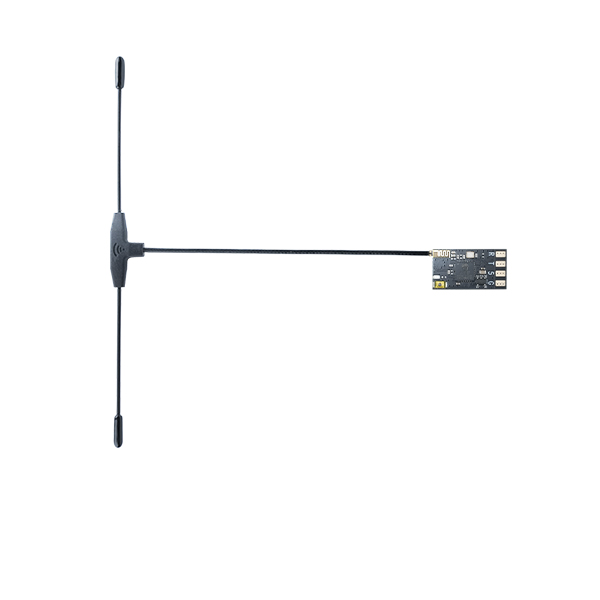
ELRS 915MHz is a receiver developed based on the open-source project ExpressLRS. It is compatible with ExpressLRS 915MHz modules and transmitters. It employs LoRa modulation technology, and features high receiving sensitivity, strong anti-interference capabilities, and long control range. It operates in the globally free 915MHz frequency band.

2.Specifications

Dimension: 

20*11mm(0.79"*0.43")

Weight: 

0.9g (0.03oz)

Channel: 

16 Channel

Antenna Length: 

Approximately 145 mm across the horizontal element, with a 110 mm feed cable

Output Frequency:

915MHz FCC/ 868MHz EU

Protocol:

CRSF

Spread Spectrum: 

LoRa(CSS)

Transmission Power:

100mW(20dBm)

Receiver Sensitivity:

-123.5 dBm

Input Voltage:

4-9V DC

Operating Current: 

<45mA

Refresh Rate:

500Hz/25Hz

Data Interface:

ELRS Interface

Antenna Connector:

IPEX Socket

Antenna Type:

Dipole T-shaped Antenna

Antenna Impedance:

50Ω

Hardware Interface:

4-pin 1.0 socket / 4-pin 2.54 pad

Control Distance: 

Actual control distance may vary depending on the flight environment)

Telemetry:

telemetry of voltage, current, latitude, longitude, satellite count, etc.

Telemetry Range:

Depends on the flight controller configuration

Response Latency: 

Depends on transmitter frequency settings

Operating Temperature: 

-20 ~ + 75℃

Default Firmware:

BETAFPV 900 RX

Compatible Transmitter: 

high-frequency modules


3.LED Indication

Solid on: Binding successfully/Transmission signal received

Flash double quickly: Binding status

Flash slowly: No transmission signal received

Flash fast: WiFi upgrade status

4.Binding

(1)Power on ELRS 915MHz receiver three times consecutively, with a power-up interval of less than 1.5 seconds.

(2)The indicator light of the receiver will flash twice, indicating it has entered the binding status.

(3)Press the BIND button on the ExpressLRS remote control (transmitter or module).

(4)The indicator light of the receiver will turn solid, indicating successful binding.

(5)After successful binding, the program will record the paired remote control device. The next power-on will restore the last binding record. No need to bind them every time the receiver is powered on.

5.Configure Betaflight Flight Controller

(1)Connect ELRS 915MHz to any serial port of the Betaflight flight controller. (Take UART6 as an example to show the settings):

(2)Connect the flight controller to the computer. Open Betaflight Configurator and connect. Click Ports menu and enable Serial RX of UART6.


(3)Click Receiver menu. Select Serial (via UART) for receiver mode, and set CRSF for serial receiver provider.

6.Configure APM Flight Controller

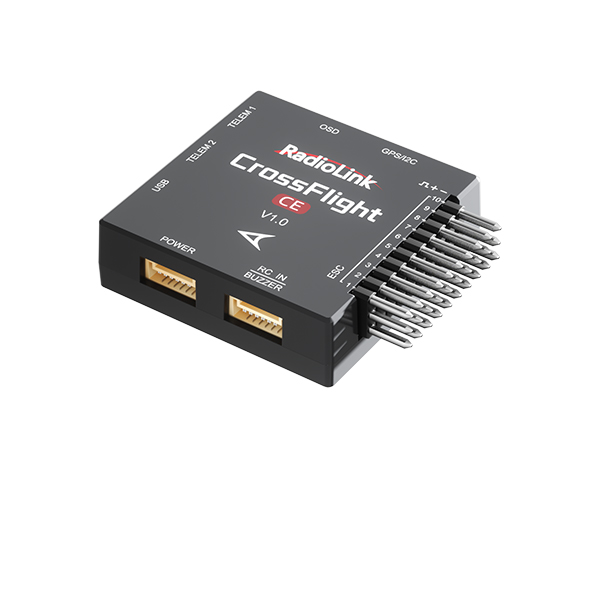
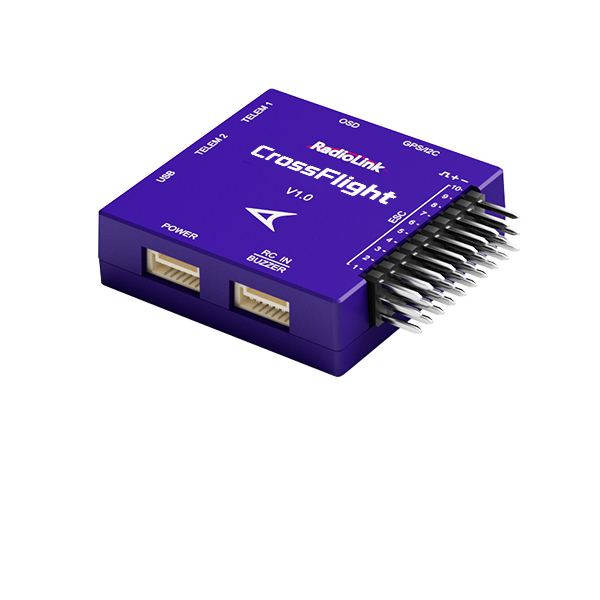
(1)Connect ELRS 915MHz to the TELEM1 port of the APM flight controller. The following example uses the TELEM1 port of the Radiolink CrossFlight flight controller:


(2)Connect CrossFlight flight controller to the computer and set the following 3 parameters in Mission Planner:

Set SERIAL1_BAUD to 115

Set SERIAL1_OPTIONS to 0

Set SERIAL1_PROTOCOL to 23

7.Upgrade Firmware

This example uses the method of downloading the officially released firmware and then using ELRS to compile the firmware.

(1)Download the official ELRS firmware. You can use the latest version or choose an older one. It is best to keep the version of the transmitter and the receiver the same. Inconsistencies may cause malfunctions. Here is the link to download the firmware:

https://github.com/ExpressLRS/ExpressLRS/releases


(2)Download ExpressLRS Configurator tool. Download the appropriate tool based on your computer system. Here is the download link:

https://github.com/ExpressLRS/ExpressLRS-Configurator/releases


(3)Install ExpressLRS Configurator.


(4)Prepare a USB to UART TTL adapter cable (as shown on the right). Please note that the adapter cable needs to be cross-connected to the T and R pin of the receiver.


(5)Open ExpressLRS Configurator. Select Configurator -- Releases, and choose the desired version. ExpressLRS-3.5.2 is used as an example.


(6)Select the hardware information. Select "Happymodel 900MHz" from the "Device category" dropdown menu; and select "Happymodel ES900 RX" from the "Device" dropdown menu.


(7)Select serial port (UART) for flashing method. You can also try other download methods on your own.


(8) Set the device options. Select the appropriate region for use, and you can customize the binding phrase here. For this demonstration, 915MHz FCC is selected.


(9)Press and hold the firmware upgrade button on the receiver while powering it on. A solid light on the receiver indicates that it has entered firmware upgrade mode. If it is in another mode, please try again until the light stays on.


(10)The compiler will recognize the serial port. Select the recognized serial port COMxx in the Manual serial device selection. Alternatively, you can leave it blank; the tool will automatically detect it during subsequent downloads.


(11)Click FLASH. The software will begin downloading the source code for the corresponding device and compiling it.


(12)The system will enter the Build interface, and it will take some time. Please be patient and follow the prompts if any errors occur.


(13)After entering the Build interface, you can view the entire compilation process. Once all four stages are successfully completed, the following screen appears, indicating that the firmware has been flashed to the receiver.


Technical Support Here

Contact RadioLink RL User Manual FAQ Tutorials

via Facebook Messenger


If the above code cannot solve your problem, you can also send emails to our technical support: after_service@radiolink.com.cnThis content is subject to change. Please download the latest version from https://www.radiolink.com/elrs_915mhz_manual